A Beginners Guide to Face Paint & Brushes, Jane Harding
Are you just starting out in the world of Face Painting?
Do you ask yourself any of these questions…
What is the best paint to buy?
What brushes should I get?
Then this is the blog for you. I am going to run you through a basic
guide of what I think would set you up well to get out there and start
painting, without breaking the bank!
Disclaimer: I am in NO WAY an expert or claim to be,
these are just my thoughts, based on my experience of buying and trying
paints, brushes and various brands.
It’s important to remember, everyone is different, what works for one
may not work for another, but my hope is that this will be helpful to at
least a few people who are just starting up and have little to no
experience in the big wide world of face painting.
IT’S A MINEFIELD OUT THERE!
Firstly let me say, in my experience most people thinking of starting a
face painting business, already own some kind of paints and brushes. If
this is the case for you, then as long as your paints are reasonably
new (I wouldn’t recommend using half worn paints, which you’ve been
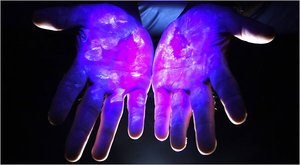
using every Halloween since 1999!), you’ve used them appropriately to
avoid cross contamination and they are FDA/EU approved, then you should
be fine using what you have for now.
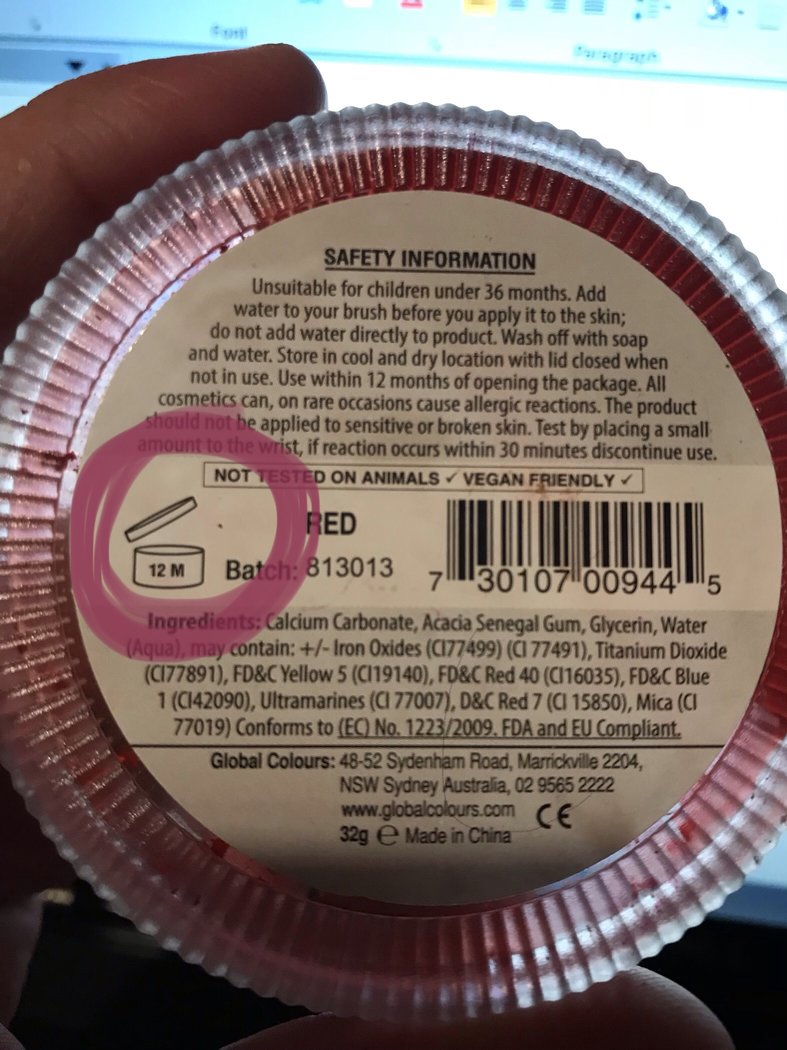
Top Tip: Check the back of your paints; it will indicate how many months you should use them for once opened.
So, depending on how new you are to face painting, I’m sure most, if
not all of you have heard of Snazaroo. I often hear parents in my line
chatting to friends about the Snazaroo they have at home, so I know it’s
a brand that hobbyists and beginners tend to try first. Most of us
started out using it; probably because it was easily accessible years
ago, most Fancy Dress Shops sold it and you could trust the brand was
safe.
Basically, what I am saying is, if you have a selection of Snazaroo
colours that you are wondering if you can use, then yes, you would be
absolutely fine. They are FDA/EU approved, a perfectly good paint.
But, if you are looking at trying other brands and not sure which to
start with, then what I will say is; I have found I like a lot of
different paints, some more than others and some for specific uses.
Paint is a bit like Marmite, what one person loves, another hates! So
it’s not really a case of me saying “…… is THE best paint to start
with”, because it’s just not that simple.
It’s exactly the same with brushes… a real personal preference. On one
hand we are so lucky that we have such a huge variety to choose from,
but on the other, it’s a bit of a minefield, especially when you start
out and have never heard of some of these brands.
I remember finding a split cake by ‘TAG’ for the first time and I had
no idea if it was good paint to buy, I felt like I needed someone to
just say, “These are all excellent quality paints that many
professionals use and would recommend”, to reassure me I wasn’t wasting
my money. It was almost like a foreign language, I had no idea what
things were! For example; if I said to you, my partner Mark owned a
Giggle-Pin Winch for his Land Rover Defender, you probably wouldn’t know
what I was talking about or whether that Winch was good or not!? That’s
exactly how I felt when looking at face painting supplies. NB;
Giggle-Pin are the best winches on the market! :-b But you only know, if
you know!
In the beginning I didn’t know where to look or who to ask for this
advice. Obviously now I know about things like; this Blog and all the
great support groups on Facebook, including ‘The Face Painting Shop –
Tips, Tricks and Questions Group’ where there is a world of knowledge
and people willing to help out and offer suggestions.
https://www.facebook.com/groups/927565127253696/?ref=br_rs
Later on I’ll give you some lists of the paint, brushes and brands that
I think are great (I know that’s what you came here for!), But
Top Tip:
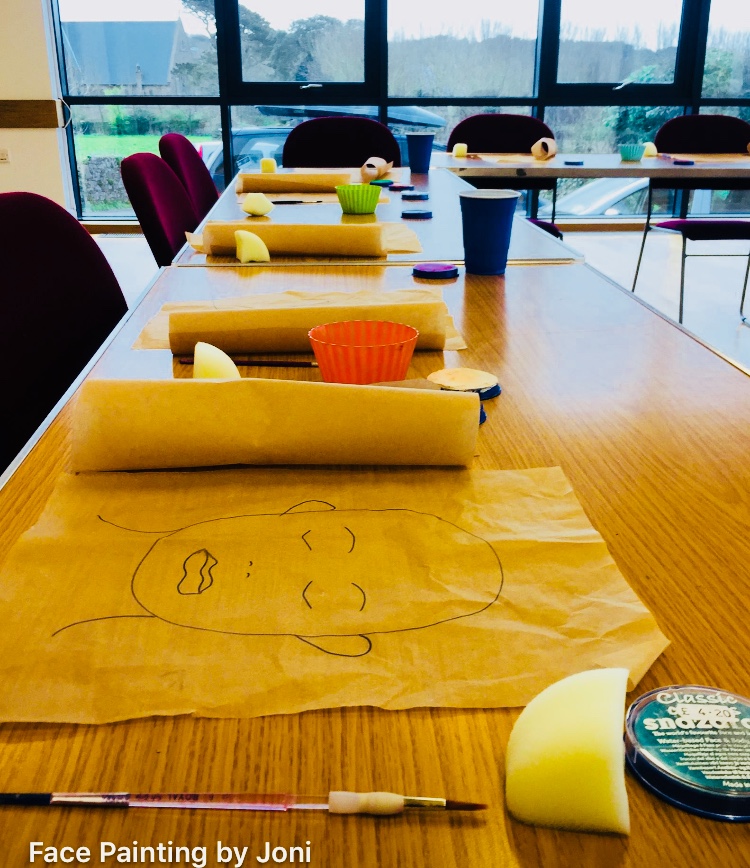
I would also HIGHLY RECOMMEND you find a face painting course or local
JAM, as these provide a great opportunity to meet fellow artists and
have a nose about in each other’s kits and possibly even ‘try out that
brush’ you’ve had your eye on for the last month!!
Wait… What’s a JAM?!
OK, I’m sure this will get covered in more detail in future blogs, so
briefly… a JAM is; a get together of Face and Body Painters. They give
you a chance to meet like-minded people, watch some demos, play with
your kits, have a cup of tea, eat some cake and sometimes buy painty
goodies!
ANYWAY… HERE WE GO… FIRST UP… FACE PAINTS
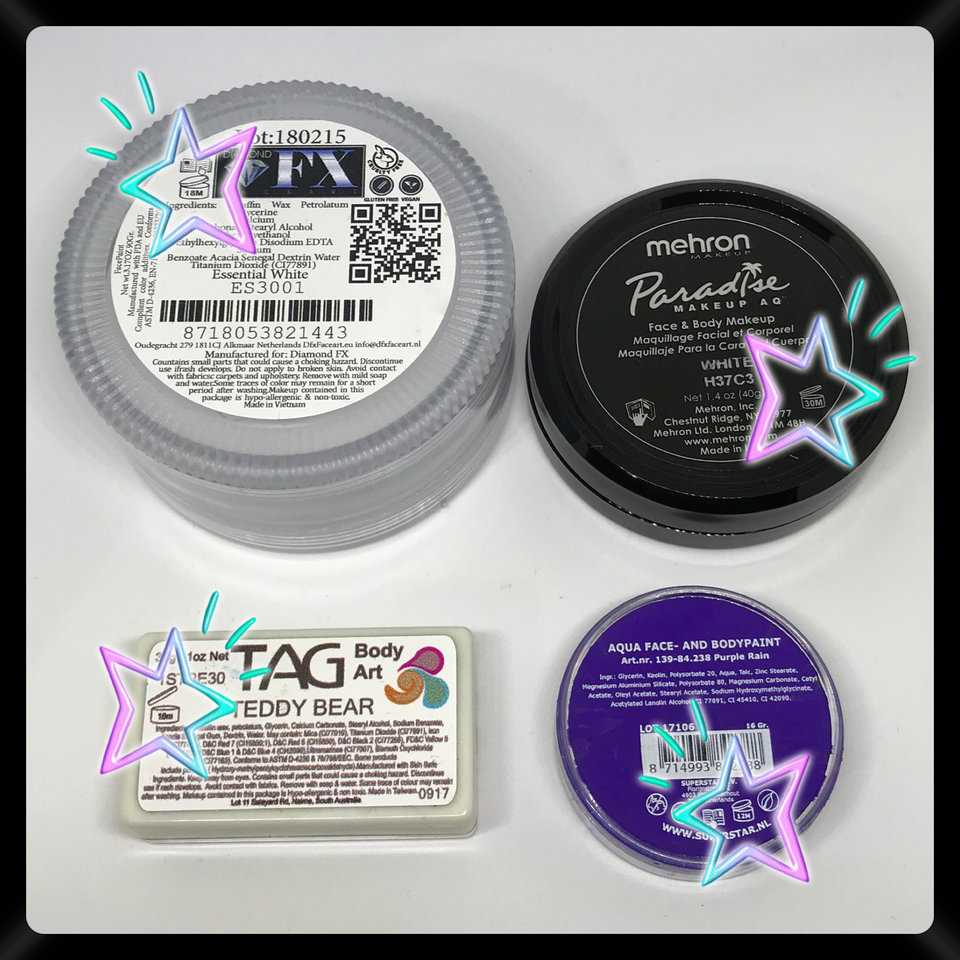
If you are looking to invest in any new paint when starting out, I
would certainly recommend investing in a good Black and White. This is
because black and white are going to be your most used paints, they are
generally used to add detail and highlights to every design, so finding a
good one will be of great benefit to you. You’ll find better coverage
and crisper line work that will make your designs pop. I can’t tell you
how much better my designs looked, once I found a black and white that
provided that for me. Now before you jump in and click ‘add to cart’, I
would suggest initially getting the smallest size available, usually
32g. That way, if you don’t get on with that particular brand, it won’t
take too long to use up before you can try a different one.
Top Tip:
Once you have found a brand you like, I would definitely suggest buying
the larger pots (45 or 90g) as they are the two colours you will use
the most and it’s much better value for money.
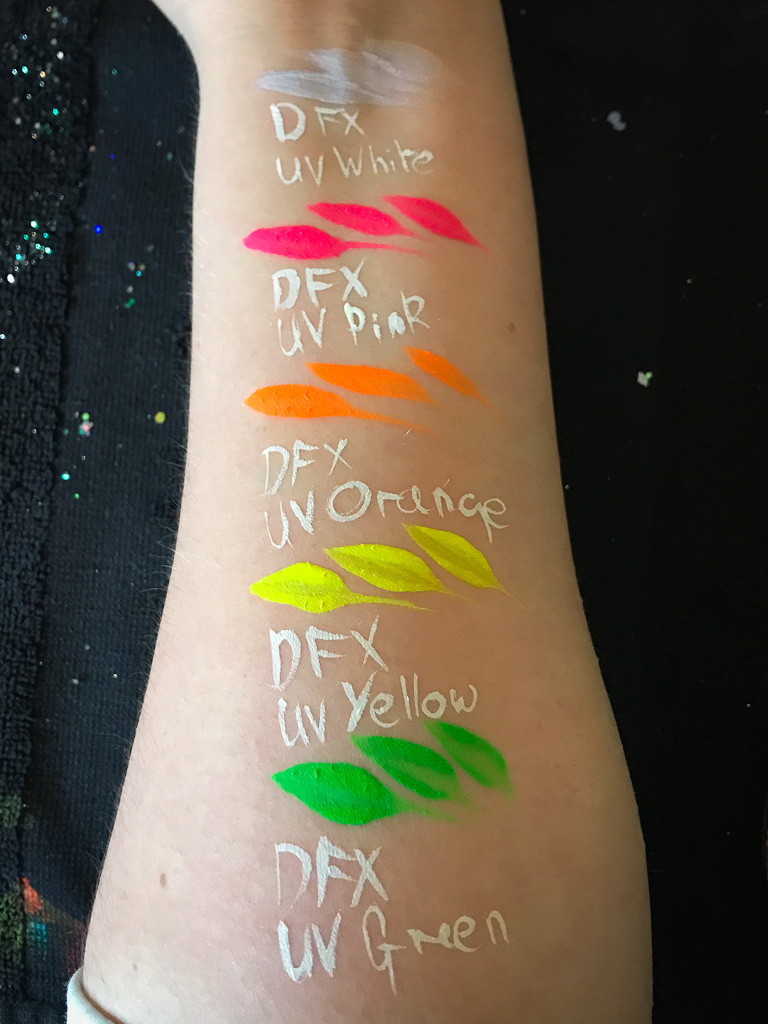
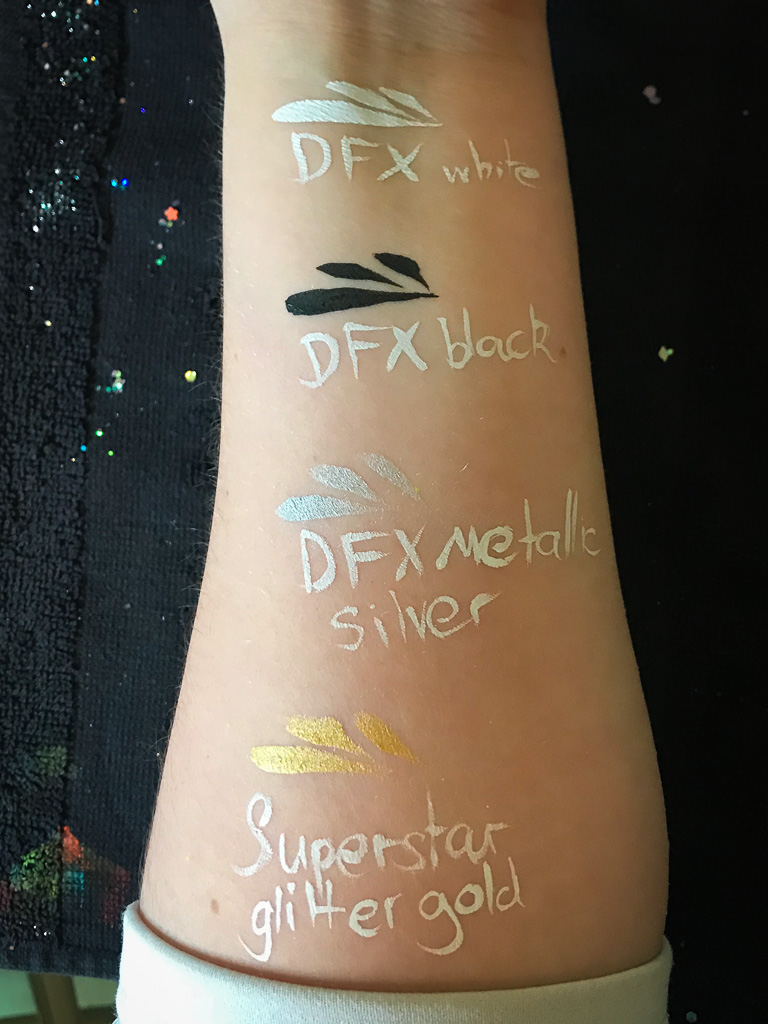
My personal favourite Black and White Paint is DFX Essential, I know
these are popular with a lot of face painters, although I’ve been
hearing a lot of great stuff about Face Paints Australia White recently
so I have just ordered myself one to try out.
Top tip: It’s always good to have a backup paint in case your favourite one is out of stock!
I am not going to get into the differences in ingredients for all the
brands today, as I assume you want to get to bed at a decent time… but
it is worth pointing out that some brands are wax based and some are
glycerine based. I am sure there will be a future blog about the
differences of the ingredients and how they perform.
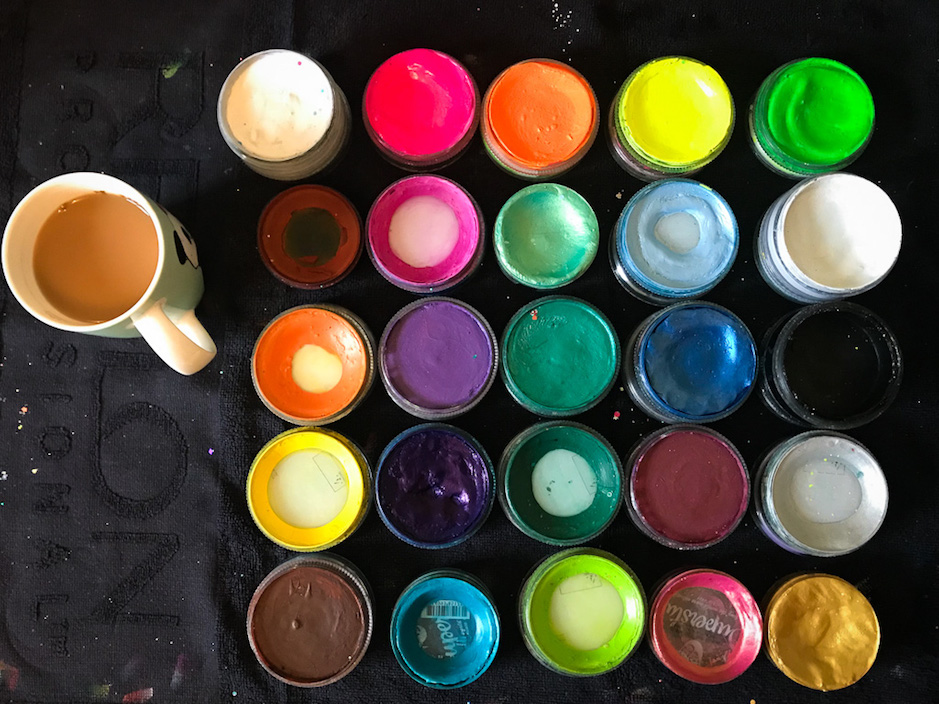
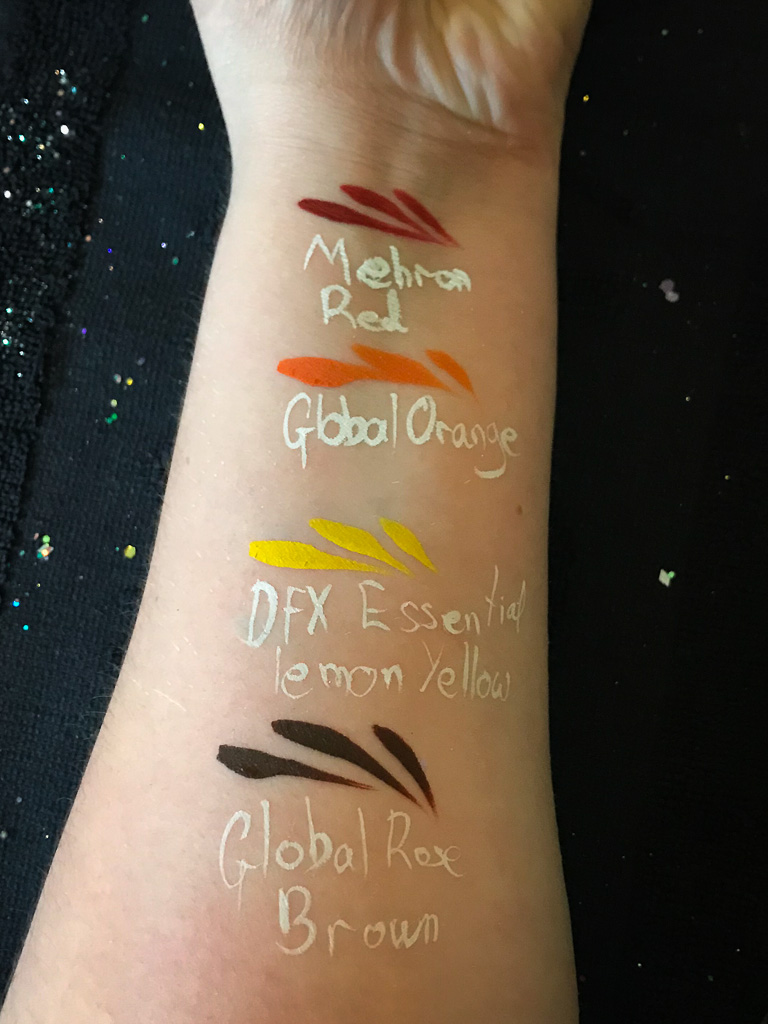
As for solid colour paints, there are so many and TBH I pretty much
like them all! I personally use a lot of Superstar (FAB in USA); it
doesn’t need as much water to activate as some other brands and you’ll
find it quite soft in consistency to others. This is something I
particularly like about it, but I know this is the reason that others
don’t get on with it… so Tomatoe/Tomato! Just FYI, another of my
favourites is Global colours.
Top Tip: I think the most important thing to look at
when choosing your solid paints, is what shades you like. Every brand
has slightly different shades, so choose the colours that you love.
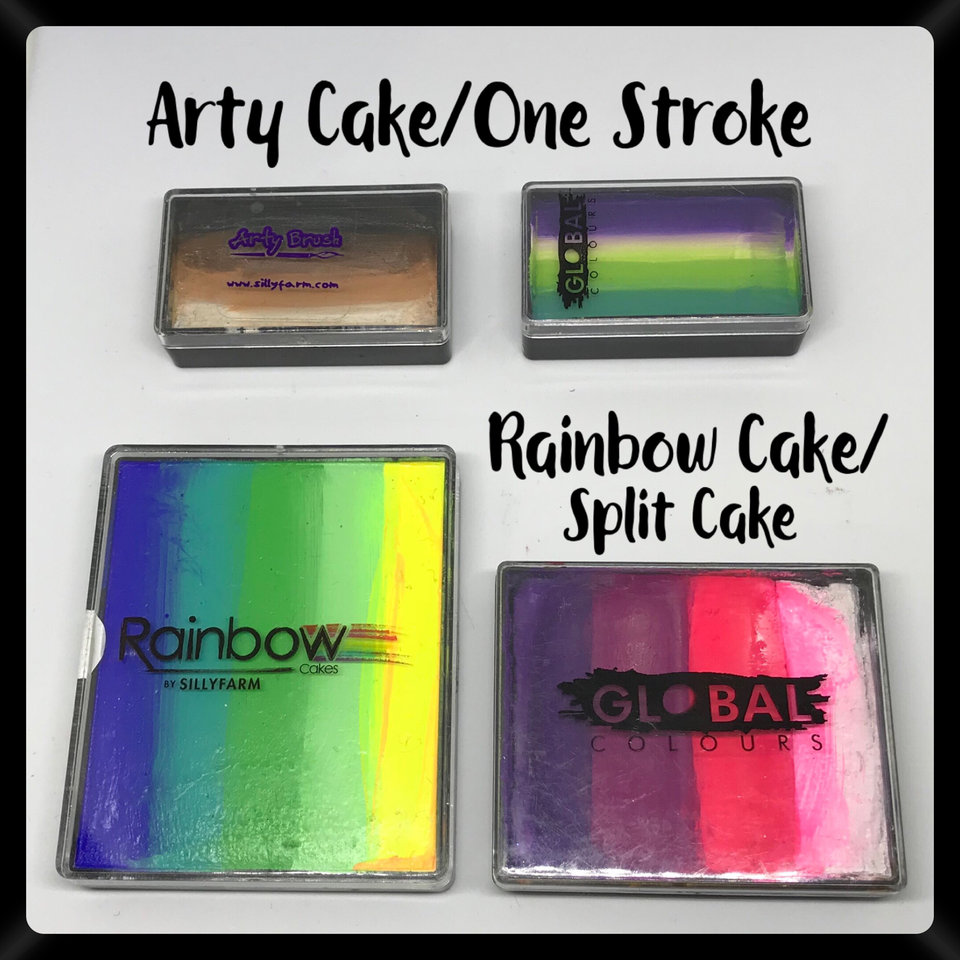
ONE STOKES/ARTY CAKES/SPLIT CAKES/RAINBOW CAKES: If
you are anything like me when I started, I was completely confused…
what’s the difference between all these ‘cakes’?! So here you go…
One Strokes & Arty Cakes are basically the same thing. They are all
in the smaller pots approx. 1inch wide in a variety of stripy colours
for you to swipe your flat/angled brush across, to produce beautifully
blended colours in ‘one stroke’.
Split Cakes & Rainbow Cakes are the larger pots that you can swipe a
sponge across to produce the same blended colours over a larger area.
It’s exactly the same principle with these colourful little pots of
joy, every brand is slightly different, you will no doubt have a
preference as time goes on, but ultimately choose the colours you love
and that will fit well with your designs.
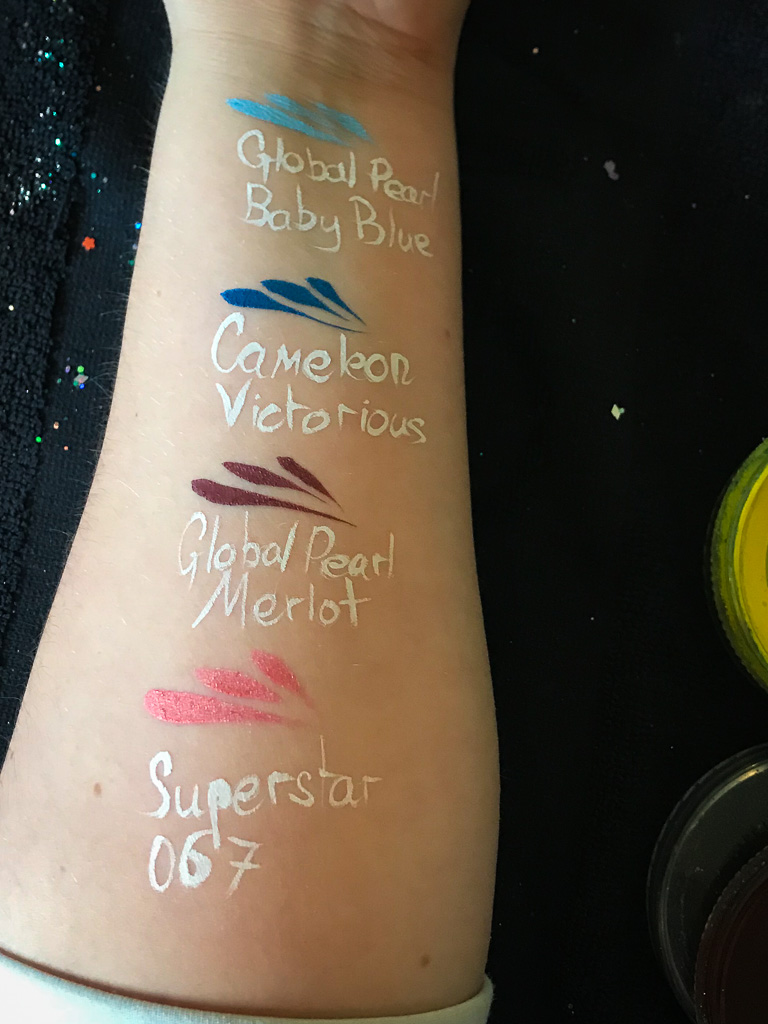
So here it is… (In no particular order) the
list of brands I think are pretty great and you can’t go far wrong with:
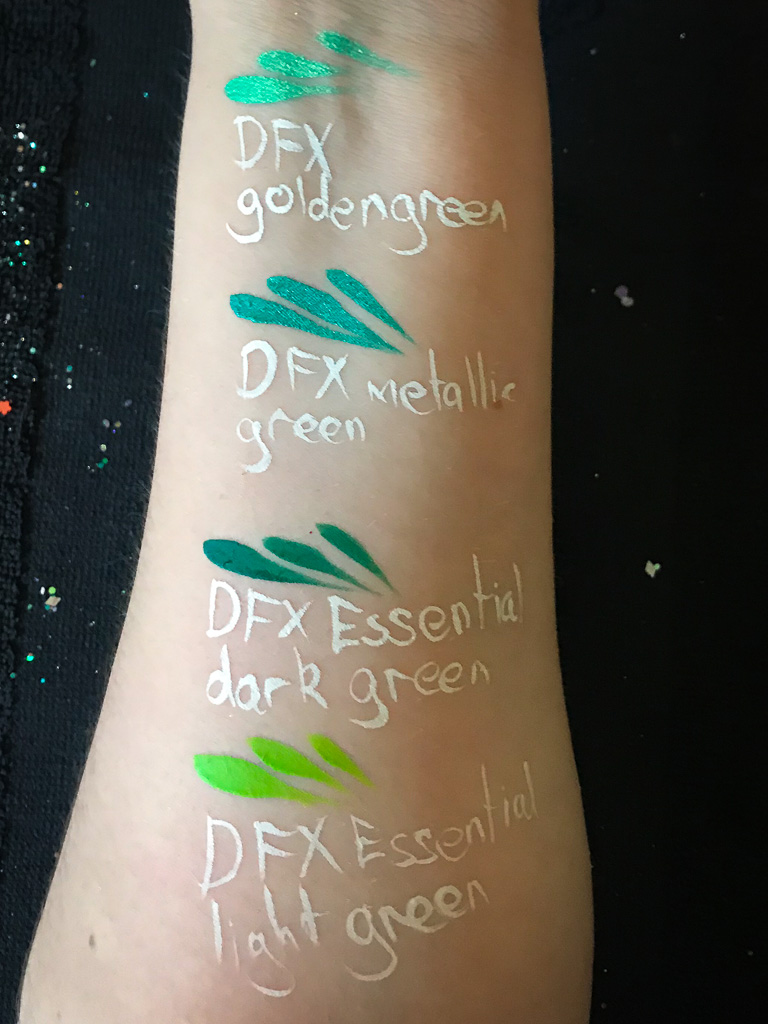
Diamond FX (DFX)
Global Colours
Superstar (FAB)
Face Paints Australia
TAG
Mehron
Kryolan
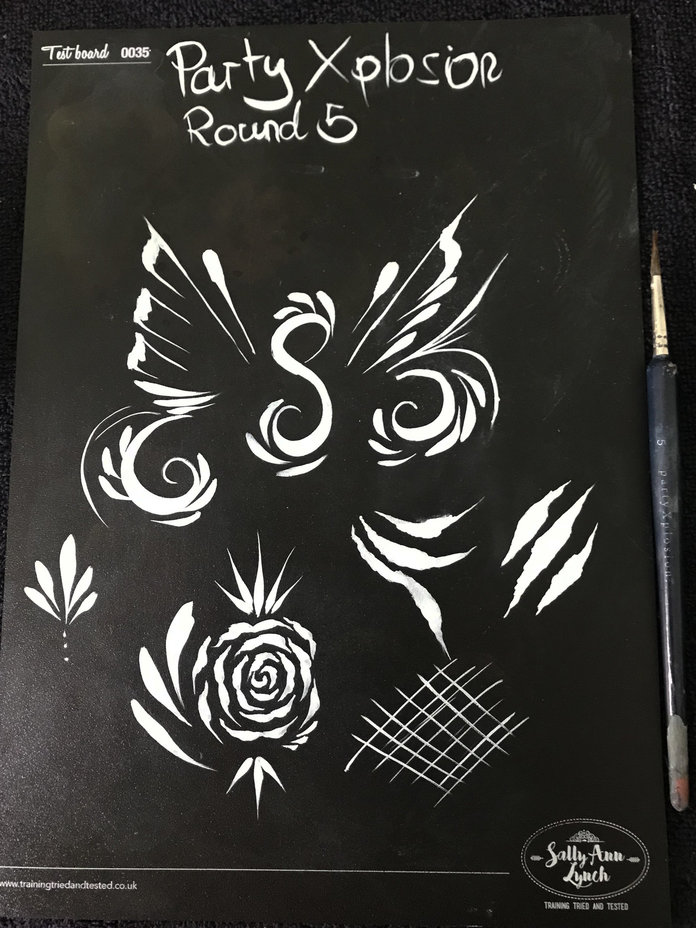
Party Xplosion
Cameleon
AND FINALLY…. BRUSHES!
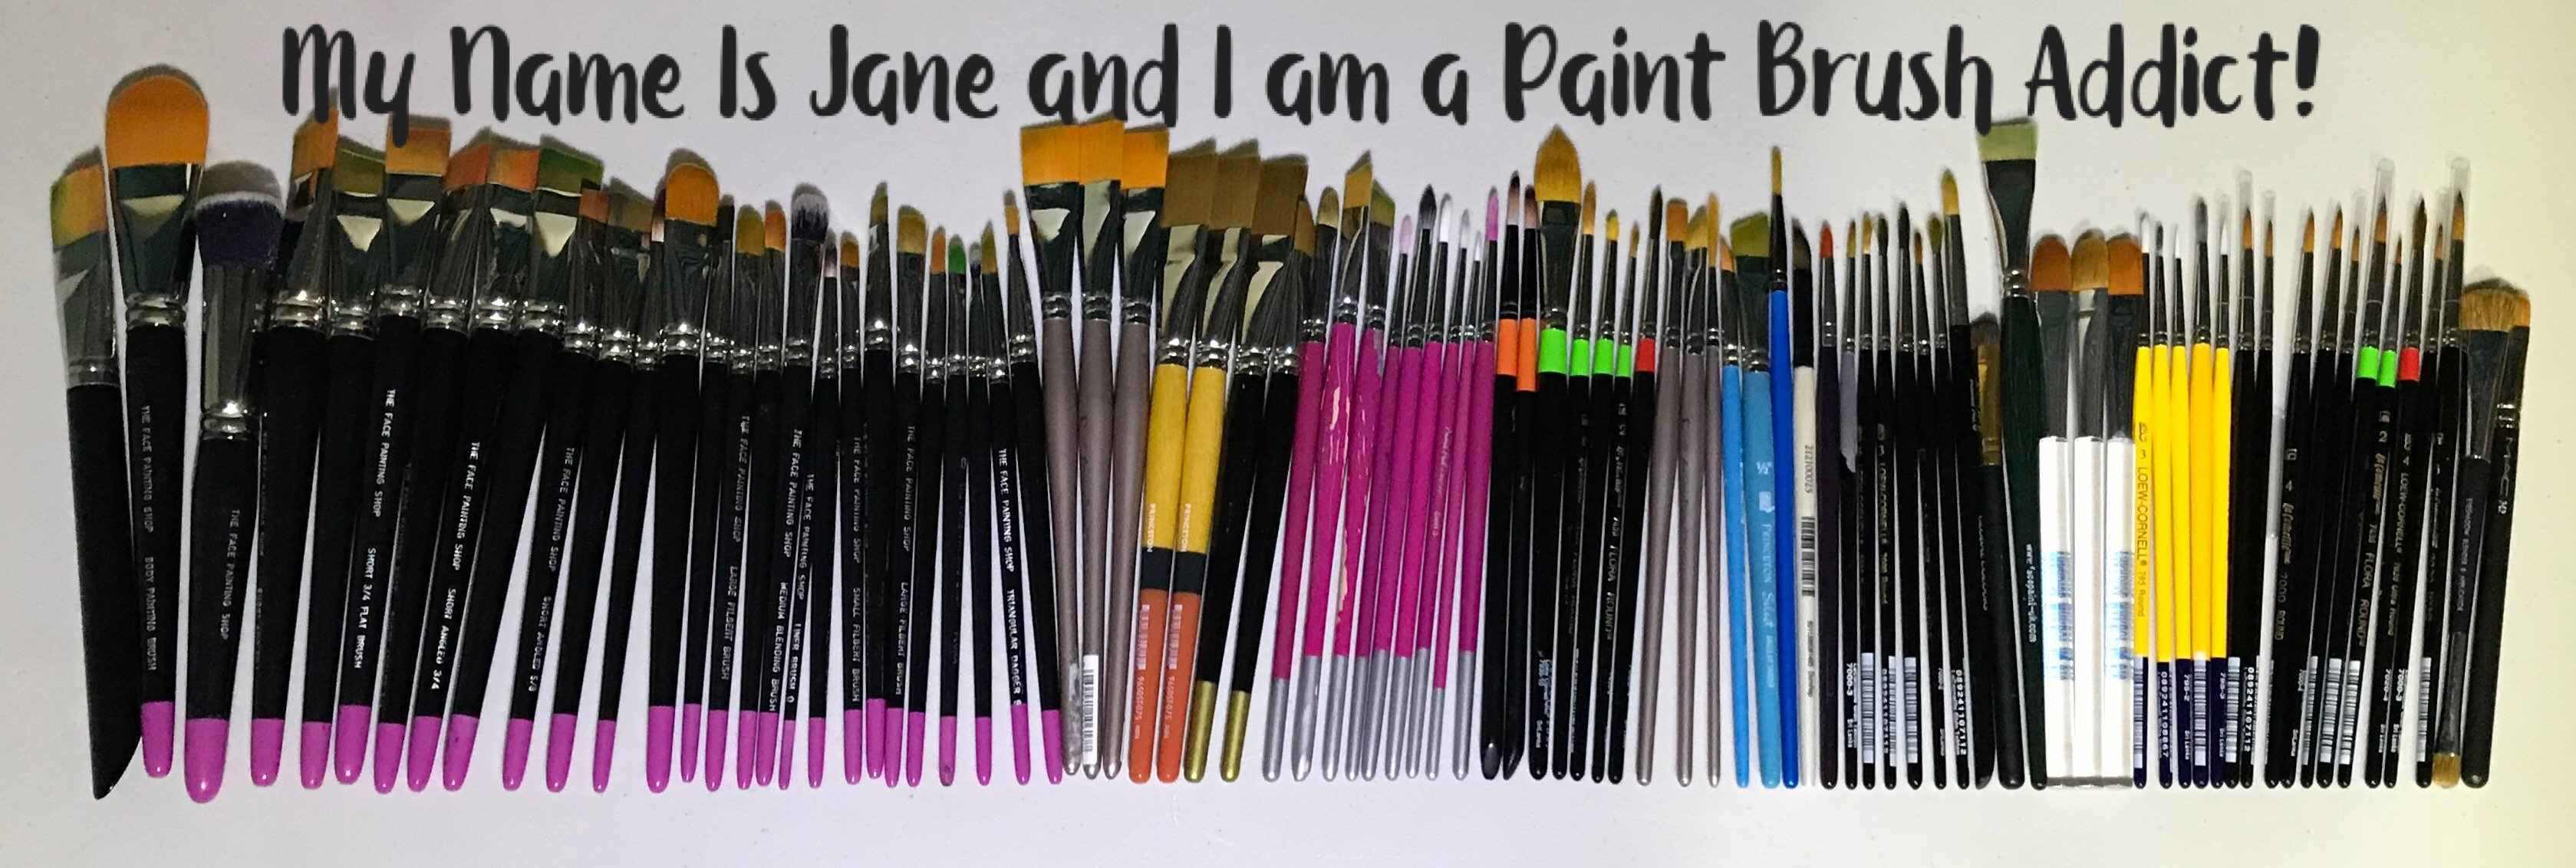
I perhaps shouldn’t be trusted with giving advice on brushes, as I am a self-confessed Brush Addict! (Please don’t judge me!)
Firstly, don’t feel the pressure from seeing other people’s huge brush
collections… *Who? Me?* you don’t need that many (That’s what I keep
telling myself! Lol)
Personally I have built up my collection over time and in my defence, I
have a selection that I use on every job, then I have speciality
brushes for specific designs I paint, that make it easier and faster for
me. I also have duplicates so I can have a dedicated brush for black
and one for white etc. and then, I have a stock pile of my favourite
brushes in case one should break or get lost or be discontinued or… you
get my drift!
I also have a mixture of brands, none better than the other; I have
just found through experience, there are brands of brushes I like for
different techniques and that I produce better work with. It really is a
case of trial and error. This can obviously be expensive, so I refer
you back to my
top tip about training and JAMS.
Are you still with me? Hold on in there, we are on the home stretch.
If you were wondering
what specific type of brushes to
buy when starting from scratch, here’s a good selection of what I think
would set you up well to produce a wide variety of designs.
Liner Brush – Great for delicate swirls on eye designs or super fine whiskers
Round 2 or 3 – Great for line work (
Top Tip: x2 so you have one for black and one for white)
Round 5 or 6 – Great for tear drops and thicker line work
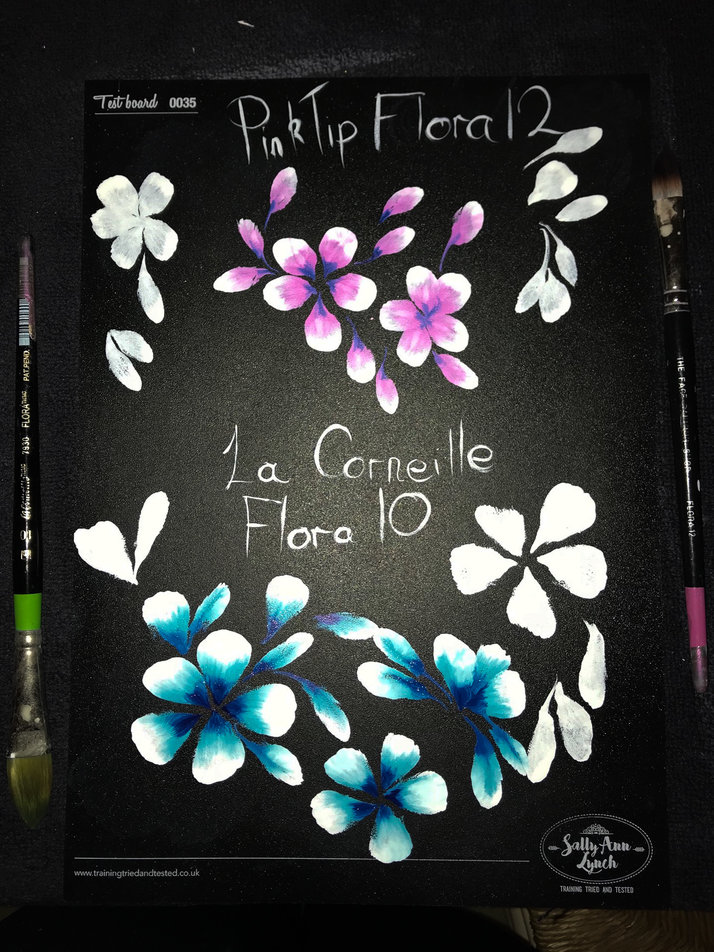
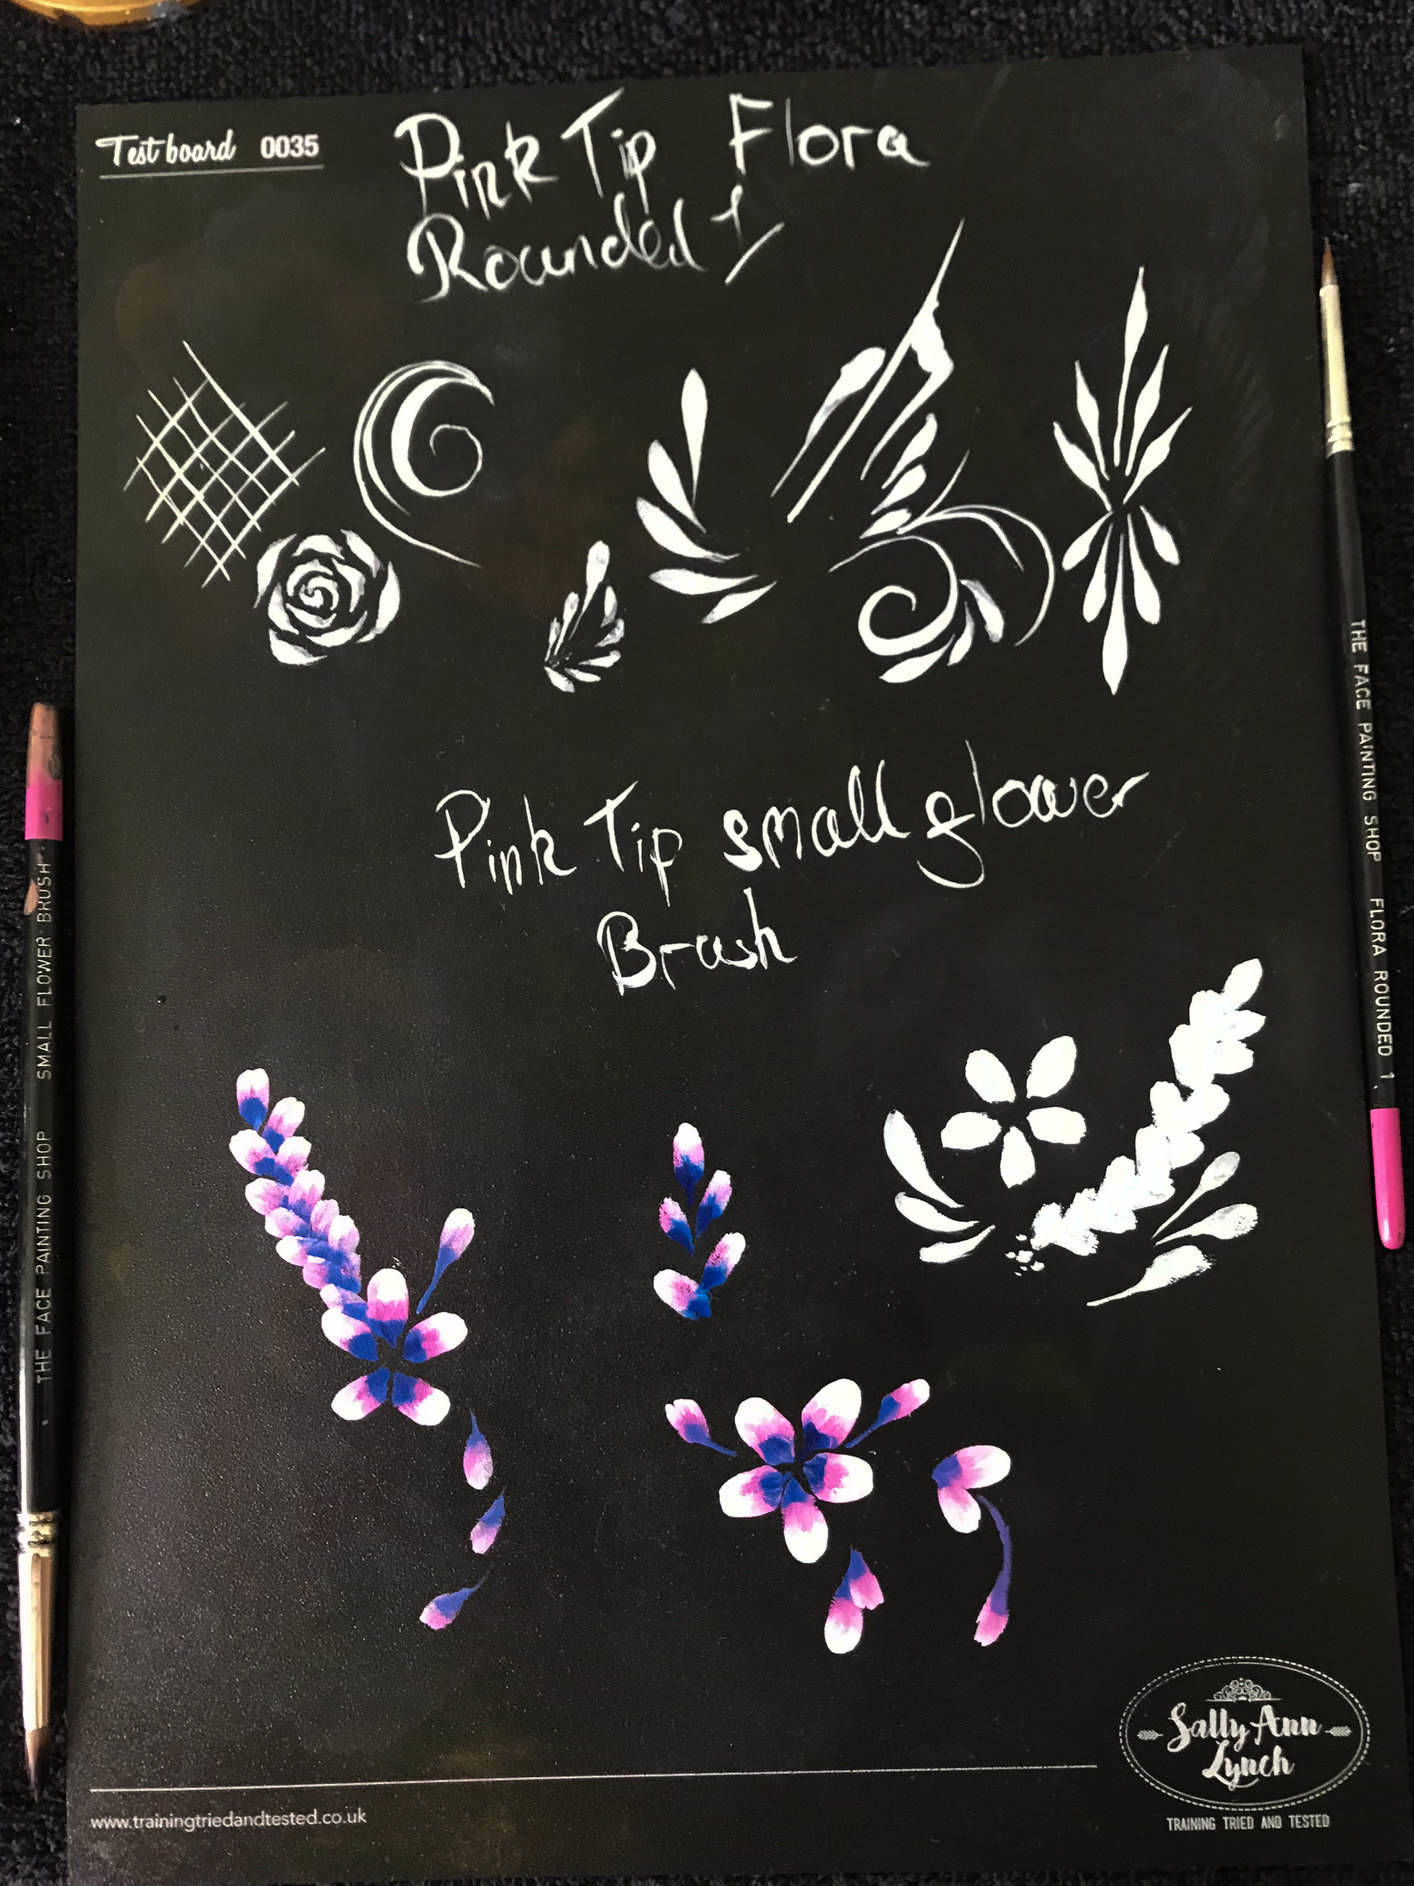
Flora – Great for petals (if you can, get a couple in different sizes this will add interest to floral designs)
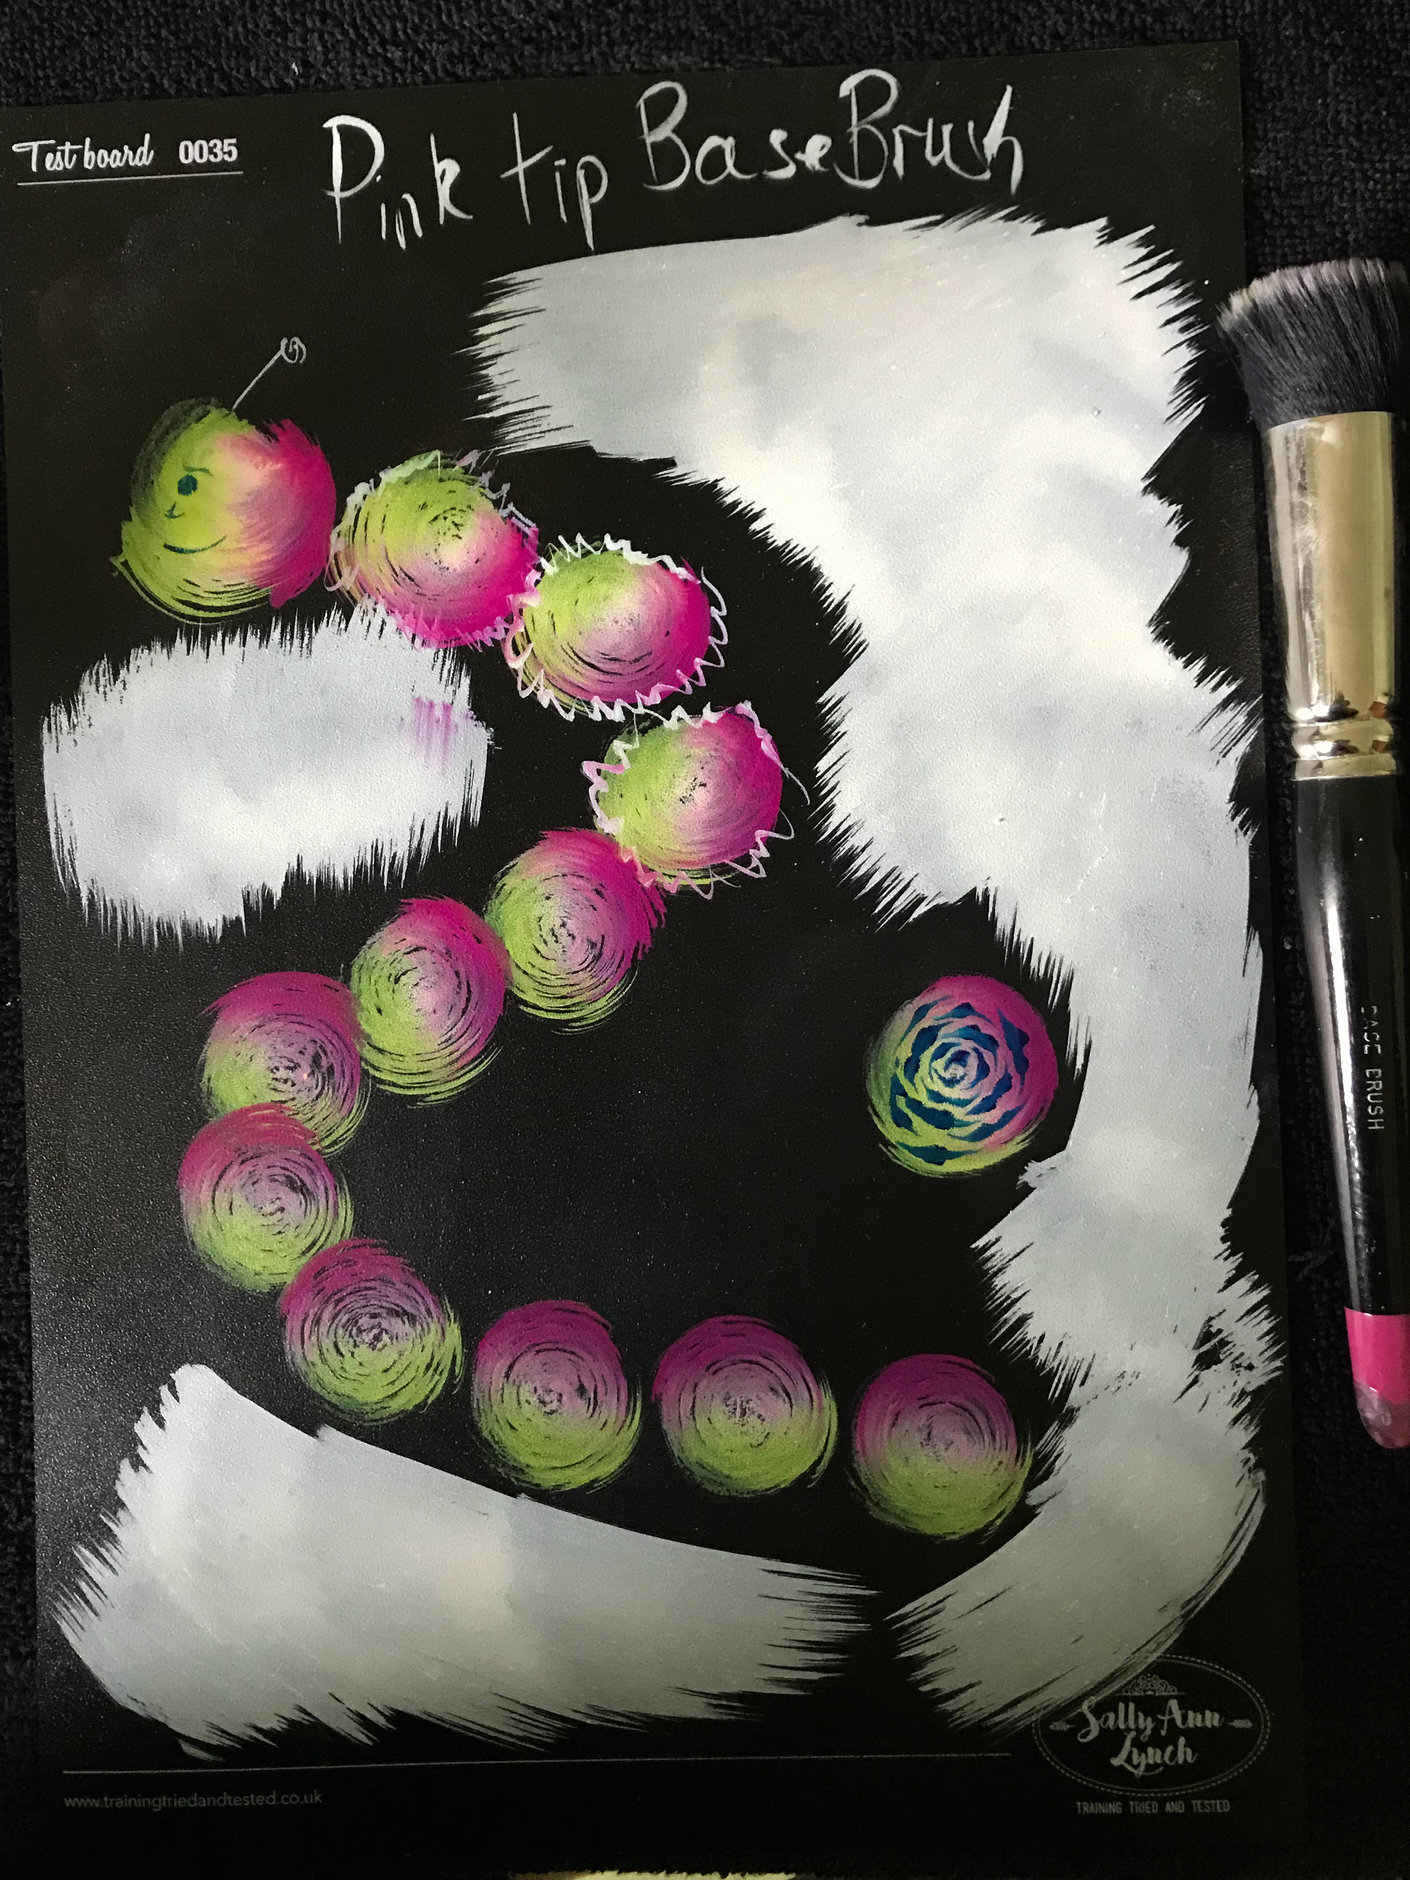
Filbert Brush – Great for filling in larger areas and for bigger tear drops or monster horns
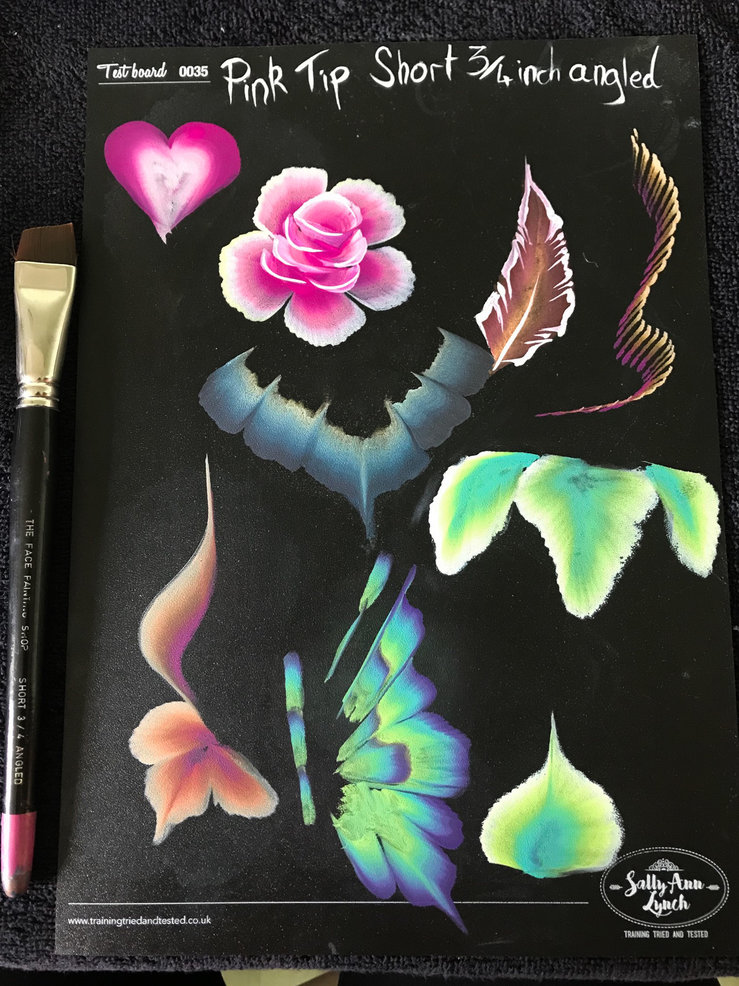
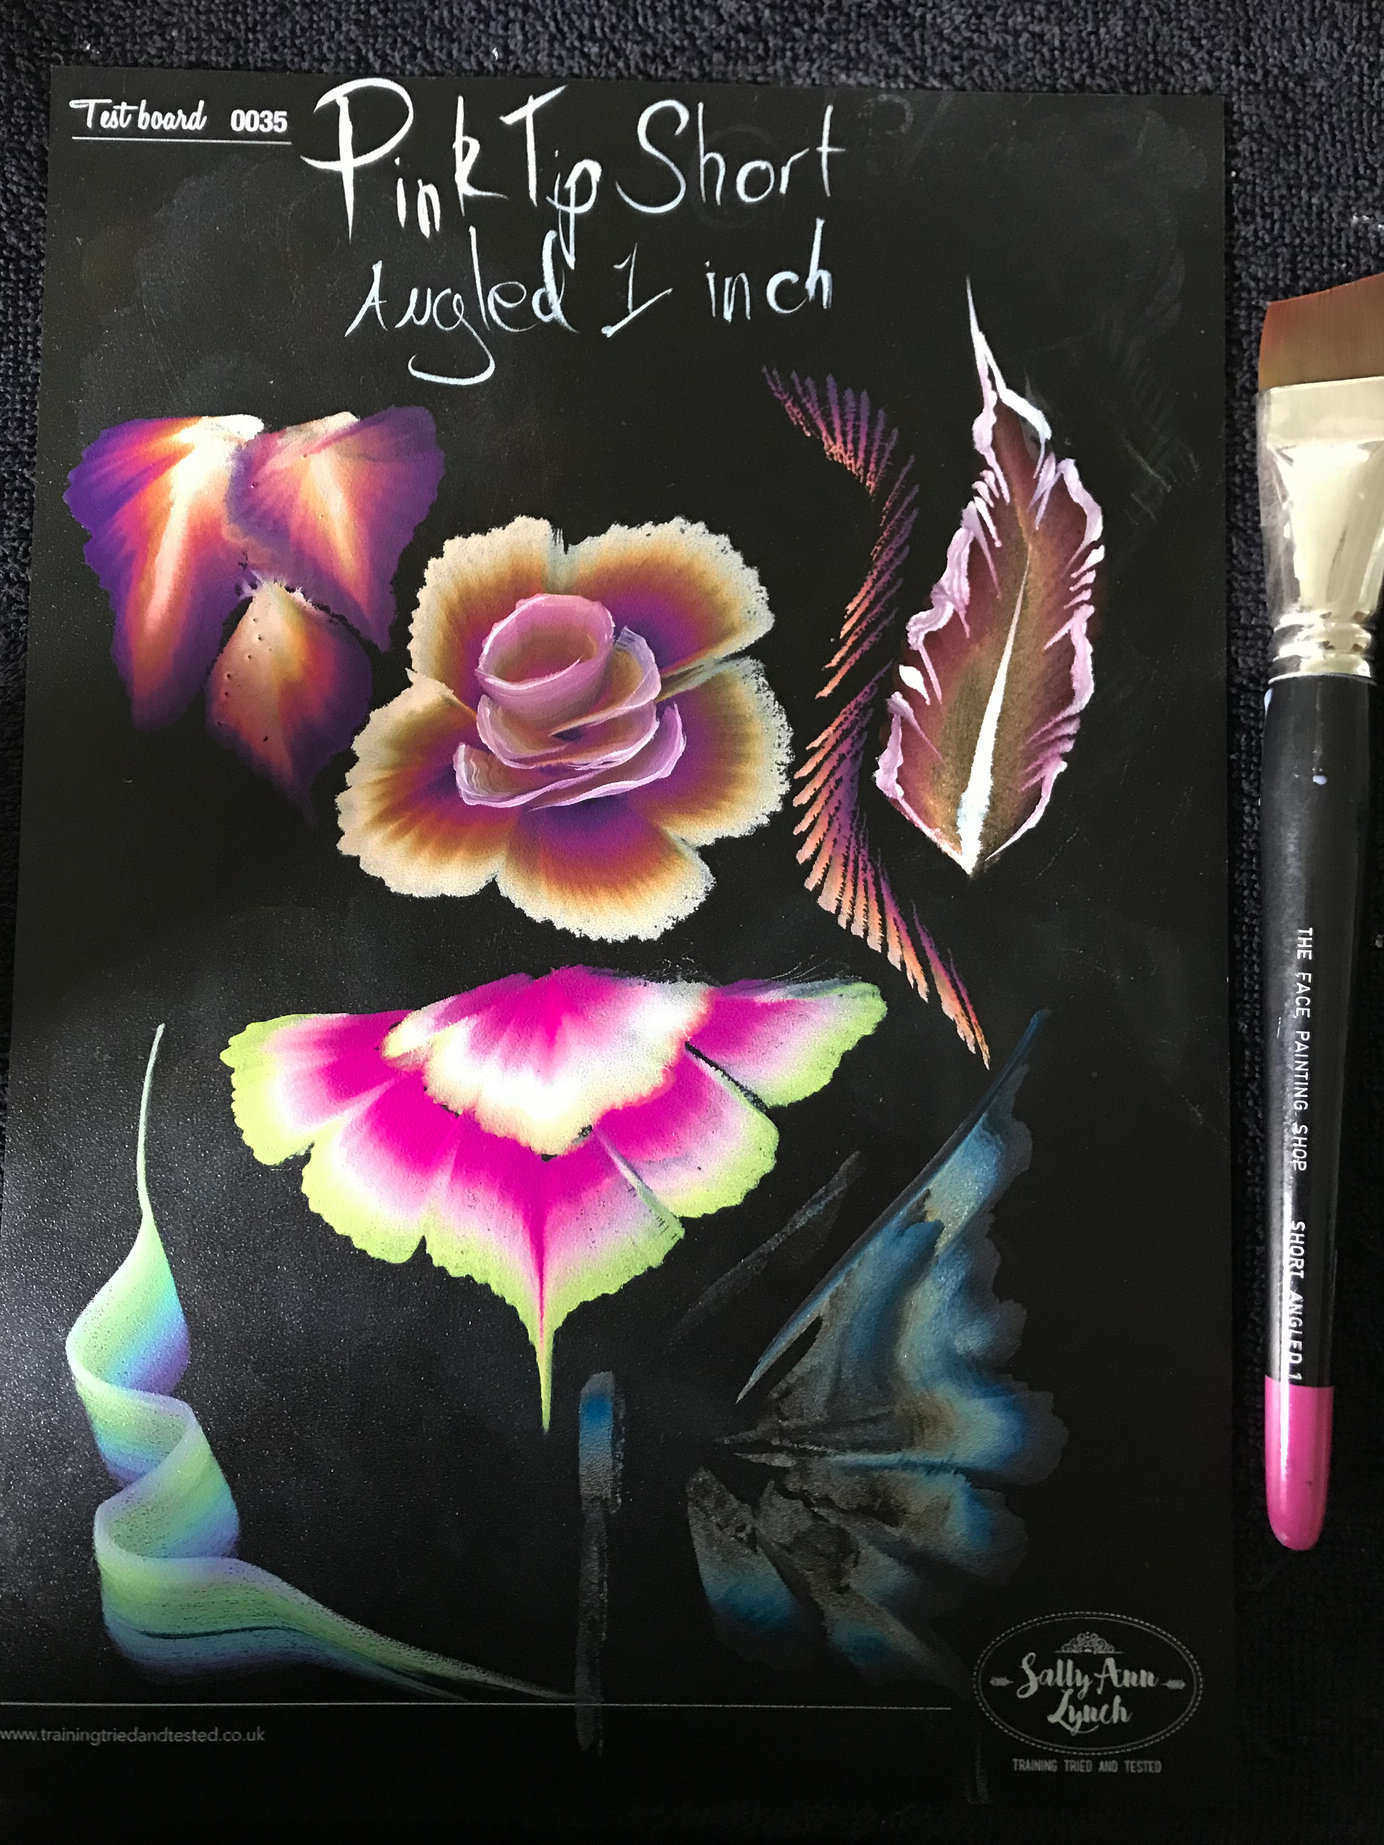
Flat and/or Angled 1/2, 3/4, & 1inch – Great for
one strokes/arty cakes. These are available in short or regular length
bristles. Everyone has a preference, but I personally found as a
beginner I had more control with the short bristles. I now use a mixture
of normal and short. Again, initially I found I had more control with
the angled brushes, but I now use flat and angled depending on what I am
painting.
And last but not least, here is a
list of brush brands that I absolutely love and would recommend trying:
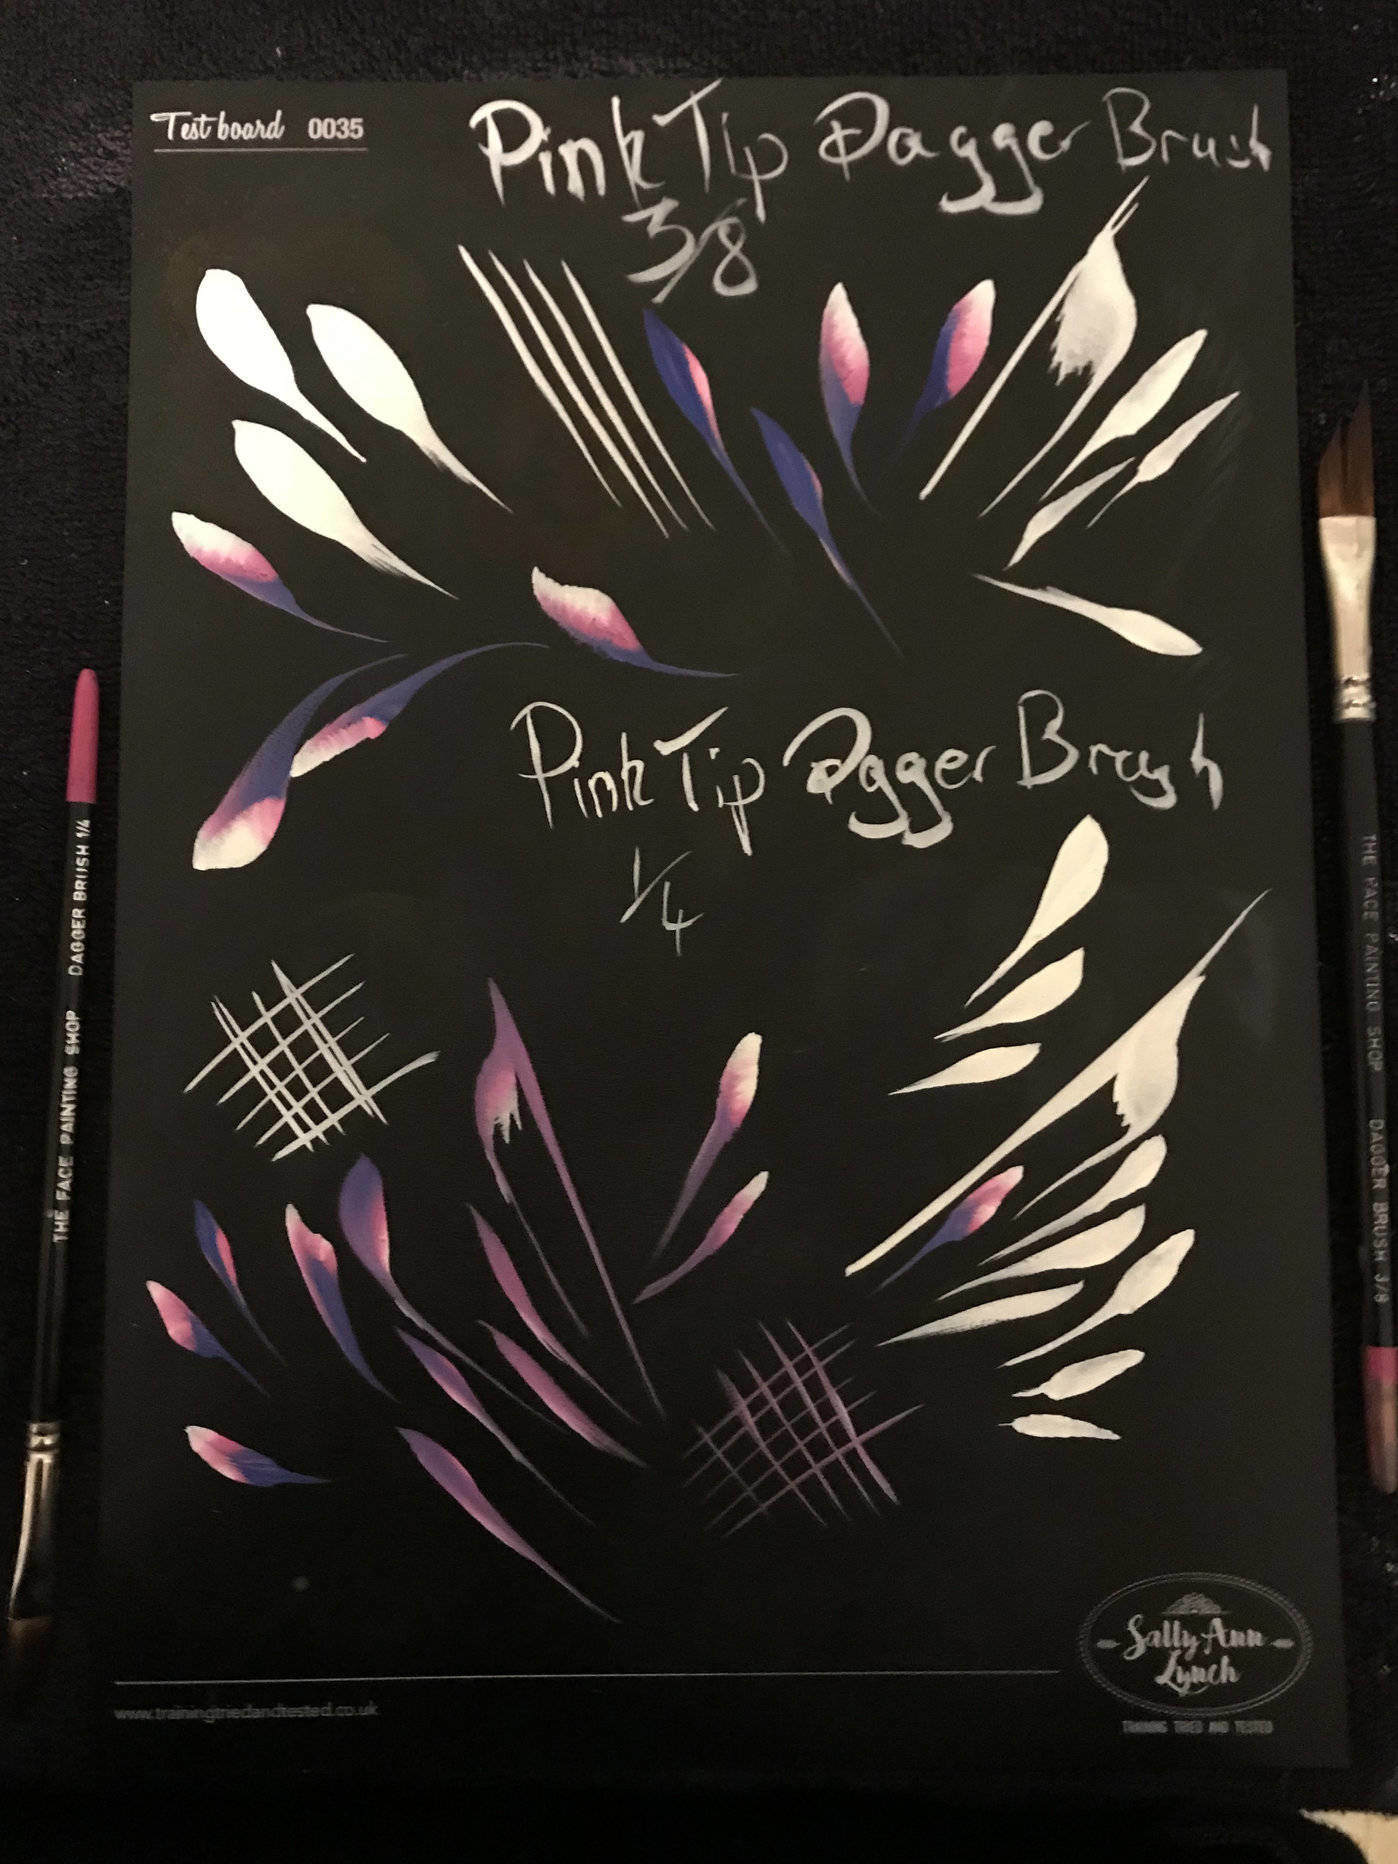
The Face Painting Shop Pinktips (I am not just saying that
because of my blog, they honestly make up the majority of my brush
collection!) – I pretty much love all of them!
Loew Cornell – (These are my go to line work brushes)
Sillyfarm Paint Pal – (I Love their petal, drop brushes and Cameron Garrett range)
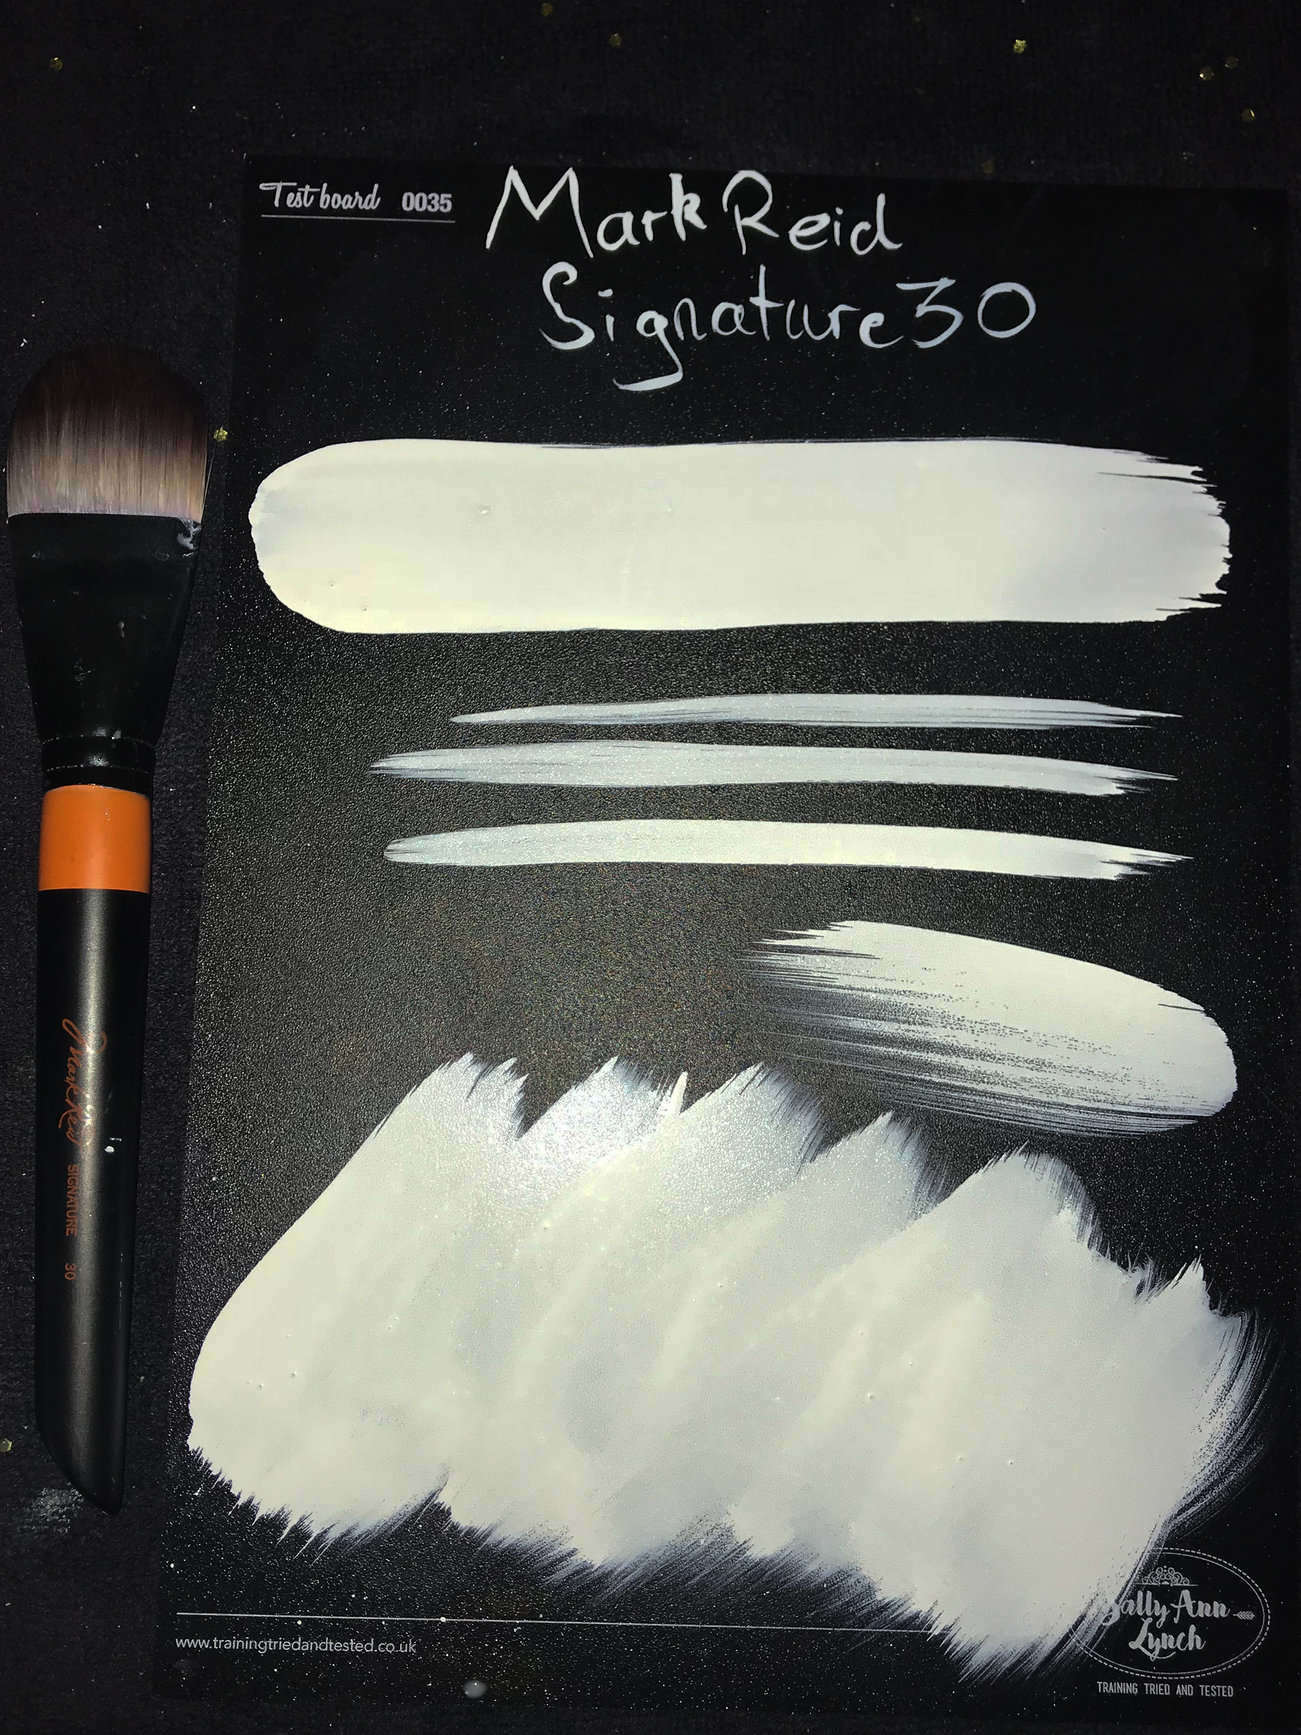
Mark Reid – Signature #4 & #6 are my go to tear drops and dots brushes
Princeton – I found these hard to find, but I have a couple of their angled brushes I absolutely love
Natalee Davies – My go to butterfly brushes
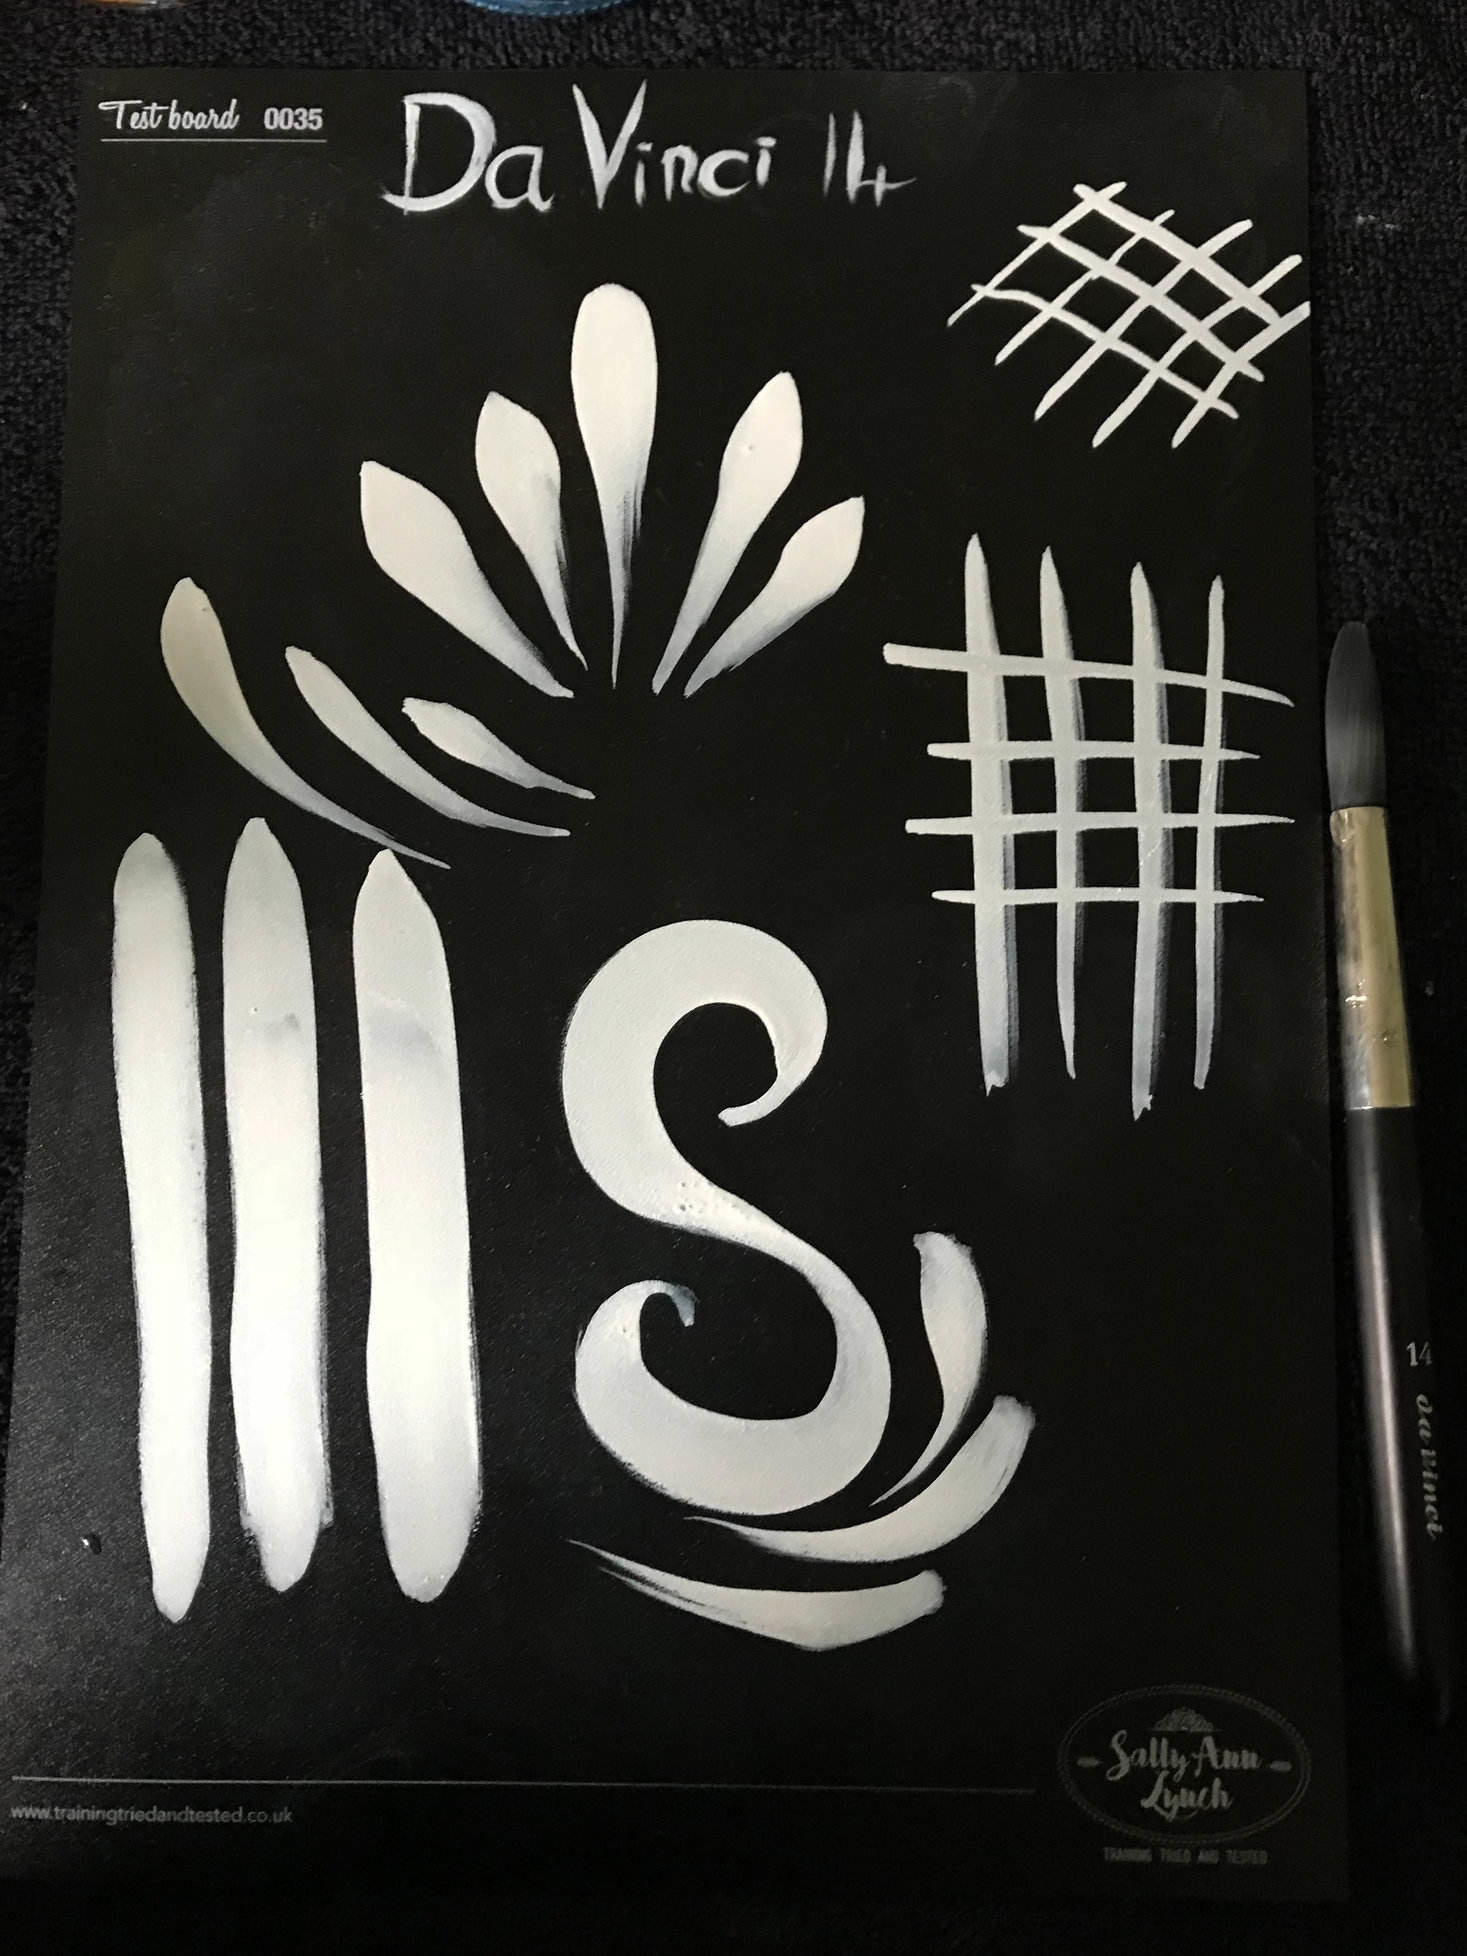
Da Vinci – Love the handle shape of these, lovely to hold and paint with
And that is it my friends! I do hope some of you found this helpful…
let me know in the comments your thoughts and what paint or brushes you
love. Not forgetting, if you have any questions on anything I have
mentioned then please ask away.
Thanks so much for reading… feel free to give me a like or follow on my
social media pages below to see what I’m up to, my recent work and
updates.
Jane x
www.thefacepaintingshop.com
Facebook.com/daisyjanesfacepainting
Instagram.com/daisyjanesfacepainting